
Great step by step! Thanks for this post and I am going to try this <3
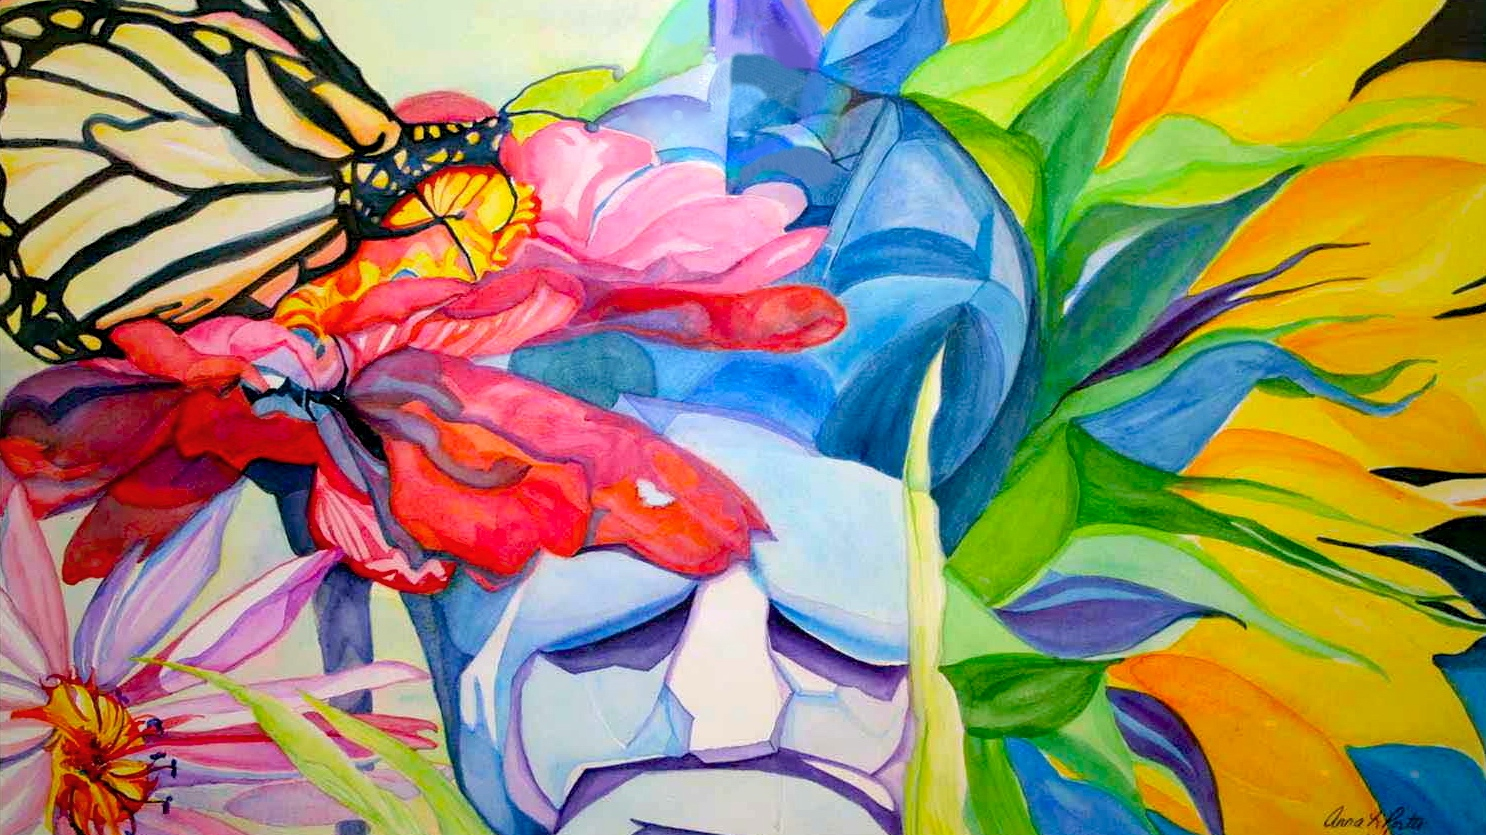

death of dahlia abstracted, digital painting in superphoto and aviary, copyright 2014 Anna Porter Artist
One of the really fun things about smartphones and tablets is the plethora of new digital photo editing and painting applications that are available to turn your digital photographs or photos of your paintings into new interesting works of digital art. Two of my favorite applications are SuperPhoto by Moonlighting.io and Aviary's Photo Editor. I use both apps on my Apple iPhone 5, and they are both available on Apple's new iPhone 6/6s as well. This blog post shows step by step how I took a great digital photograph of a dead dahlia blossom with my iPhone 5 camera and turned it into a finished piece of abstract art in literally a few minutes.
To create this piece, I first took a digital photograph of a dead dahlia blossom that I saw on my daily dog walk. I liked the textural nature of the dead petals and felt a pang of sorrow at its passing. Just a couple days before I had taken a digital photo of its sibling in full bloom in all of its shining glory.
Step 1 - Take a great digital photo.

Death of a Dahlia, original digital photograph by Anna Porter Artist.
In this case, I took the photo with my iPhone 5 because that is what I had with me at the time. Had I been on a walkabout with my Canon EOS Digital Rebel, I could just as easily have taken this image with my DSLR camera, although getting it to my iPhone 5 to use my iOS photo editing apps would then take a couple more steps. I would first have to transfer the image from my DSLR camera to my Apple iMac computer using Image Capture, iPhoto or Aperture, and then share it with my iPhone 5 using Apple's iCloud service, or save it to my Dropbox or something similar, so that my iPhone 5 could access the image.
While I really liked this digital photograph in and of itself, I decided that I would play with it a little in SuperPhoto to see what else I could create. When I got back to my studio, I opened the SuperPhoto app on my iPhone 5 and selected "New Additions" from the list of possible filters and effects. You can download the SuperPhoto app for free in the Apple iTunes Store. You can purchase an incredible number of special effects from within the SuperPhoto app, and Moonlighting.io comes out with new effects on a regular basis. Or you can use some of the basic effects that come with the free app. There is a very creative group of developers over at Moonlighting.io and the sky is the limit in terms of what you can do by layering different effects in SuperPhoto (and SuperPhoto is only one of the many applications offered by Moonlighting.io).
To create this piece, I opened the SuperPhoto app on my iPhone 5 and selected the SuperPhoto "Shattered" Effect.
Step 2 - Open the SuperPhoto app, select the Shattered Effect and the photo that you want to use it with:

Step 3 - Depending on which Superphoto effect you choose, you will either be given the opportunity to "paint" a part of the original digital photograph that you want to edit using the pencil and eraser tool (Step 3), or SuperPhoto will begin working its magic on the whole image (Step 4). In this case, I was presented with the "Paint your selection" screen below. You can be as finely detailed as you need to be in order to select the part of the image that you want to "paint" by varying the size of the pencil or the eraser (use the slider with the round white button at the bottom of the screen to change the size). Then simply use your finger to paint the part of the image that you want to use. If you overstep your boundaries, you can use the eraser tool to remove the unwanted "painted" area. Press the checkmark in the upper right corner of the screen when you are finished.

Step 4 - Wait a few seconds while SuperPhoto spins its magic. A lovely butterfly flaps its wings letting you know that your photo is undergoing metamorphosis and is about to be transformed.

It took about 1.5 seconds to process this edit on my 64 GB iPhone 5 running iOS 8.0.2. ( I had to snap that screenshot fast!)
Step 5 - SuperPhoto Shattered effect applied to my Death of a Dahlia Et voila!

Nice work, but I wanted to heighten the colors a bit. So I saved the newly created SuperPhoto image back to my camera roll on my iPhone 5. I could have applied another effect within SuperPhoto to do this, but instead I decided to use the Aviary Photo Editor app on my iPhone 5. In addition to pre-packaged effects, Aviary has an easy-to-use advanced image editor and text editor so you can sign your artwork in the app.
Step 6 - Save the new SuperPhoto creation to your device.

At this point I could have shared my new creation using the SuperPhoto Share option, or submitted it to SuperPhoto's User Creations gallery to be considered for a feature on Moonlighting.io. But because I still wanted to work with the image a little more in the Aviary Photo Editor on my iPhone 5, I instead chose to save the new creation to my iPhone 5's camera roll by selecting Save.
Next I opened the Aviary app on my iPhone 5. The Aviary app immediately goes to your camera roll by default to let you upload a photo for editing. You can tell it to go to other albums by pressing the album button at the bottom of the screen, or you can take an original picture with the camera button at the bottom of the screen. I selected the SuperPhoto creation that I had just saved to my camera roll. When you download the Aviary app from the Apple iTunes App Store, it comes with a several original effects for customizing your photos, as well as simple and advanced editing tools. You can purchase additional effects, frames, stickers and bundles from within the app. I really liked what I did already with the SuperPhoto app, so I just used the simple Enhance options at the bottom of the Aviary Photo Editor screen.
Step 7 - Open Aviary app and select the SuperPhoto creation from the camera roll.

Step 8 - Select Enhance from the Photo Editor main menu at the bottom left of the next screen that appears.

Step 9 - Select the Enhance effect that you want to apply to your image:
(a) Hi-Def
(b) Scenery
(c) Food
(d) Portrait
(e) Night


From left: Step 9 - Enhance options (a) to (e) applied to my SuperPhoto creation.
For this image, I really liked Option 2 - Enhance Scenery, so I selected it and then pressed Apply at the top right of the Aviary screen. As I am writing this article, Option 5 - Enhance Night is also calling to me, and so I think I will return to the app and save that version at a later time as well. Had I chosen Effects, Frames or Stickers instead of Enhance, in Step 8 above, I could have applied any of the myriad of effects, frames or stickers that either came with the Aviary app, or that I purchased later from within the app. All of these effects can be applied at the press of a button and the Aviary Photo Editor provides an instantaneous preview of the edited artwork.
One of the things that I love about the Aviary Photo Editor is that it not only has great filters and effects that you can easily and quickly apply to your photos, it also has an advanced image editor and text editor built into the app, so you can do more complicated edits like:
▪️ adjust the brightness, contrast, warmth and saturation
▪️ improve the sharpness
▪️ change the orientation
▪️ crop the image to several standard sizes or a custom size
▪️ alter the focus of the image with a radial or linear tool
▪️ create a color splash by removing all color in the image and painting the color back in selected areas
▪️ whiten (bleach) selected areas
▪️ fix a blemish or remove red-eye in a portrait, or de-emphasize an area by blurring it, PLUS
▪️ you can sign your newly created artwork right in the app without having to export it elsewhere for text editing.
Step 10 - Select Text from the Aviary Photo Editor main menu.
Since I was happy with the heightened colors provided with the Enhance - Scenery effect, all that was left to do was sign my new masterpiece, so I scrolled the main menu at the bottom of the Aviary Photo Editor screen to the right by swiping my finger to the left, and selected Text.

Step 11 - Once in the Text Editor you simply use the options from left to right to:
(a) choose your text font
(b) choose your text color
(c) enter your text
(d) position your text by dragging it where you want it to appear; and
(e) size your text by sliding the white button with the double arrow on it.


From left: Step 11 - Aviary Text Editing Options (a) to (e) above.
Then simply press Apply at the top right on the screen to apply the text to your photo, then Save to save your finished work.
Step 12 - Apply text and save Photo.

Step 13 - Share your new artwork.
When you press Save, the Aviary app brings up the Share screen that allows you to share your artwork on social media (Instagram, Facebook, Twitter), email it to a friend, print it at Walgreens, send it in a Text Message, etc. If you want to save your new creation to the camera roll, simply press Done.

Step 14 - You did it (or in this case I did it)!

Death of a Dahlia Abstracted, digital painting created in Superphoto and Aviary from a photo of a dead orange dahlia blossom near my artist gardens, annasgardens.
Fine art prints of Death of a Dahlia Abstracted are available for purchase in my Fine Art America Gallery in various sizes, printed with archival inks on acid-free stretched canvas and fine art papers to create museum quality works of art that last a lifetime. Choose from prints on professionally stretched canvas, acrylic, metal, fine art papers (framed or unframed), greeting cards, and iPhone and Samsung Galaxy smartphone cases. Prices start at $22.56 for an 8 x 8 inch unframed fine art print on luster photo paper, not including shipping. Various sizes up to 36 X 36 inches are available for this image.
Please click on this link: http://fineartamerica.com/featured/death-of-a-dahlia-abstracted-anna-porter.html for a complete list of products and prices. You can also download the PDF Sales Sheet for Death of a Dahlia Abstracted.
* required


